Showing posts with label Baking. Show all posts

Sunday, February 13, 2011

Bake Sale! Daifuku and Cookies

I needed to do some baking for a Valentine's Day Bake Sale. I decided I would make some Peanut butter and coconut daifuku.  I knew a double batch of the recipe I like to use would give me 12 of each type.  I also remembered a jar of sauerkraut in the fridge and vaguely recalled eating sauerkraut cooking when I was a kid . . . so I googled it.  I did find a recipe for Don't Ask, Don't Tell cookies at Jennie's Recipes.  I followed the recipe exactly and ended up with some nice cookies.

The cookies taste a lot like muffin tops, which is good in my opinion.  You really can't taste the sauerkraut and the cookies only have a little bit of zip.  I think I would use just a bit more sauerkraut next time.  Also, I did a half batch and got a ton of cookies.
Raw . . .

and cooked!

I also perfected my daifuku recipe and diafuku making skills.  First, lets go through the fillings!  For the peanut butter daifuku put teaspoon sized balls on a cookie try or a mini muffin pan and freeze it.  For coconut filling take 1 cup of coconut, 1/4 cup brown sugar, 1 tbs flour, and 1/2 cup of water in a sauce pan and mixing it over medium heat until thick (it is important that it isn't runny at all).  Freeze in balls like the peanut butter.  Make sure to freeze for at least an hour.
coconut ready to be frozen

Peanut butter ready to be frozen!
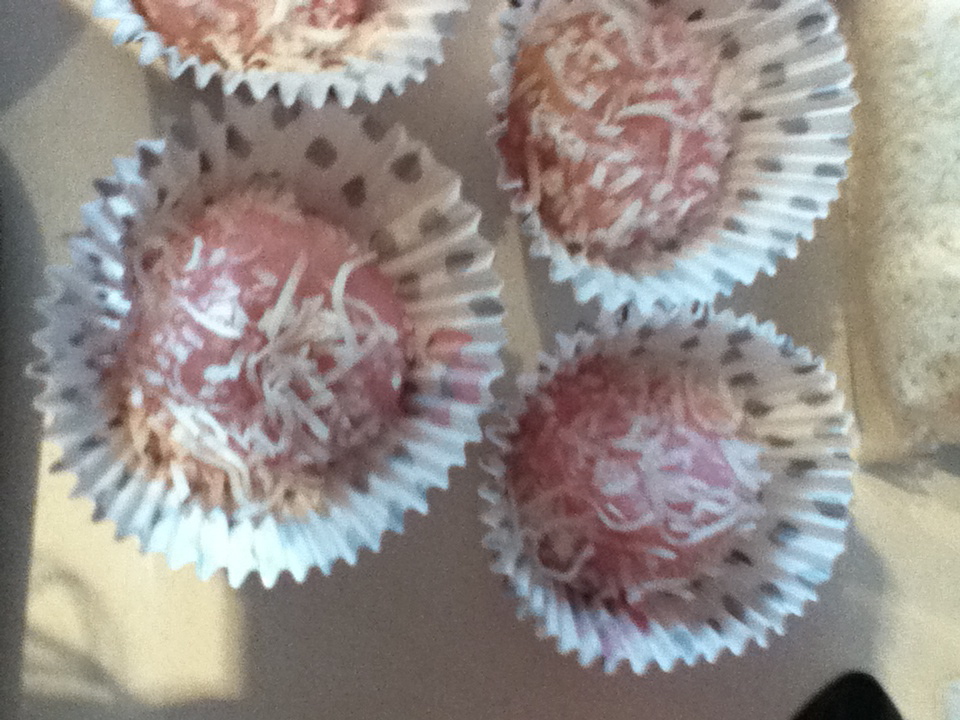
Make the daifuku!  I find the microwave mochi makes the best daifuku.  Take 1 cup mochiko flour, 1/4 cup sugar, and 1 cup water and mix in microwave safe bowl.  Cover with plastic wrap.  Microwave 2 minutes.  Stir. Microwave 1 minute.  If it puffs up and then settles its done.  If not microwave 1 more minute.  No more than 4 minutes.  It will make 12 daifuku.  Let the mochi cool a bit . . . just enough so you can stand it.  Spray hands with PAM . . . or flour hands with cornstarch.  Pinch a small glob off and spread it out on a plastic/silicone cutting board.  Make it into a small round and put one frozen filling in the middle.  Pinch the the mochi shut.  Roll the sticky surface in cornstarch or a fun topping.  I used coconut for the coconut ones and sesame seeds for the peanut butter.  Just put some in a bowl and roll it around.  Drop them into a cupcake wrapper. 
squished out round

frozen filling in the middle

Coconut in cups

Peanut butter in cups
This is mine made up of extra bits (so both peanut butte and coconut). Yummy!

I sampled everything and it all turned out really really well!

Wednesday, December 15, 2010

Glutten Free Gingerbread House: Part 1 Baking

My dad and I make a Christmas project ever year.  It usually involves cake or cookies.  This year we decided to make a gingerbread house.  This is complicated by the fact that my father is now on a gluten free diet.  Baking challenge accepted!

We started by picking a recipe.  If you've ever cooked gluten free you know that it can be difficult.  The ingredients are often expensive and recipes often require a huge amount of ingredients.  In the end I settled on one that we already had most of the ingredients for.  I used a recipe found at Jenn Cuisines.  The author of the recipe also used it to make a gingerbread house, which I thought was a good sign.  I should warn you that my batch turned out a bit dry and I only added 1.5 cups of millet flour.  I should also mention that the cookies are not very sweet.  If I make this again I'll add a bit more sugar.  In the end we had enough for the house, but not much else.
Half the dough ready to be rolled out!
The next stage is picking a pattern.  I looked all over at free patterns.  We flirted with the idea of designing our own, but as this is our first time decided to use something we were pretty sure would work (fingers crossed).  In the end we went with the Swedish gingerbread house design found at Marthastewart dot com.  It was the right amount of classic and interesting . . . and the patten was free!
Patterns ready to be cut!
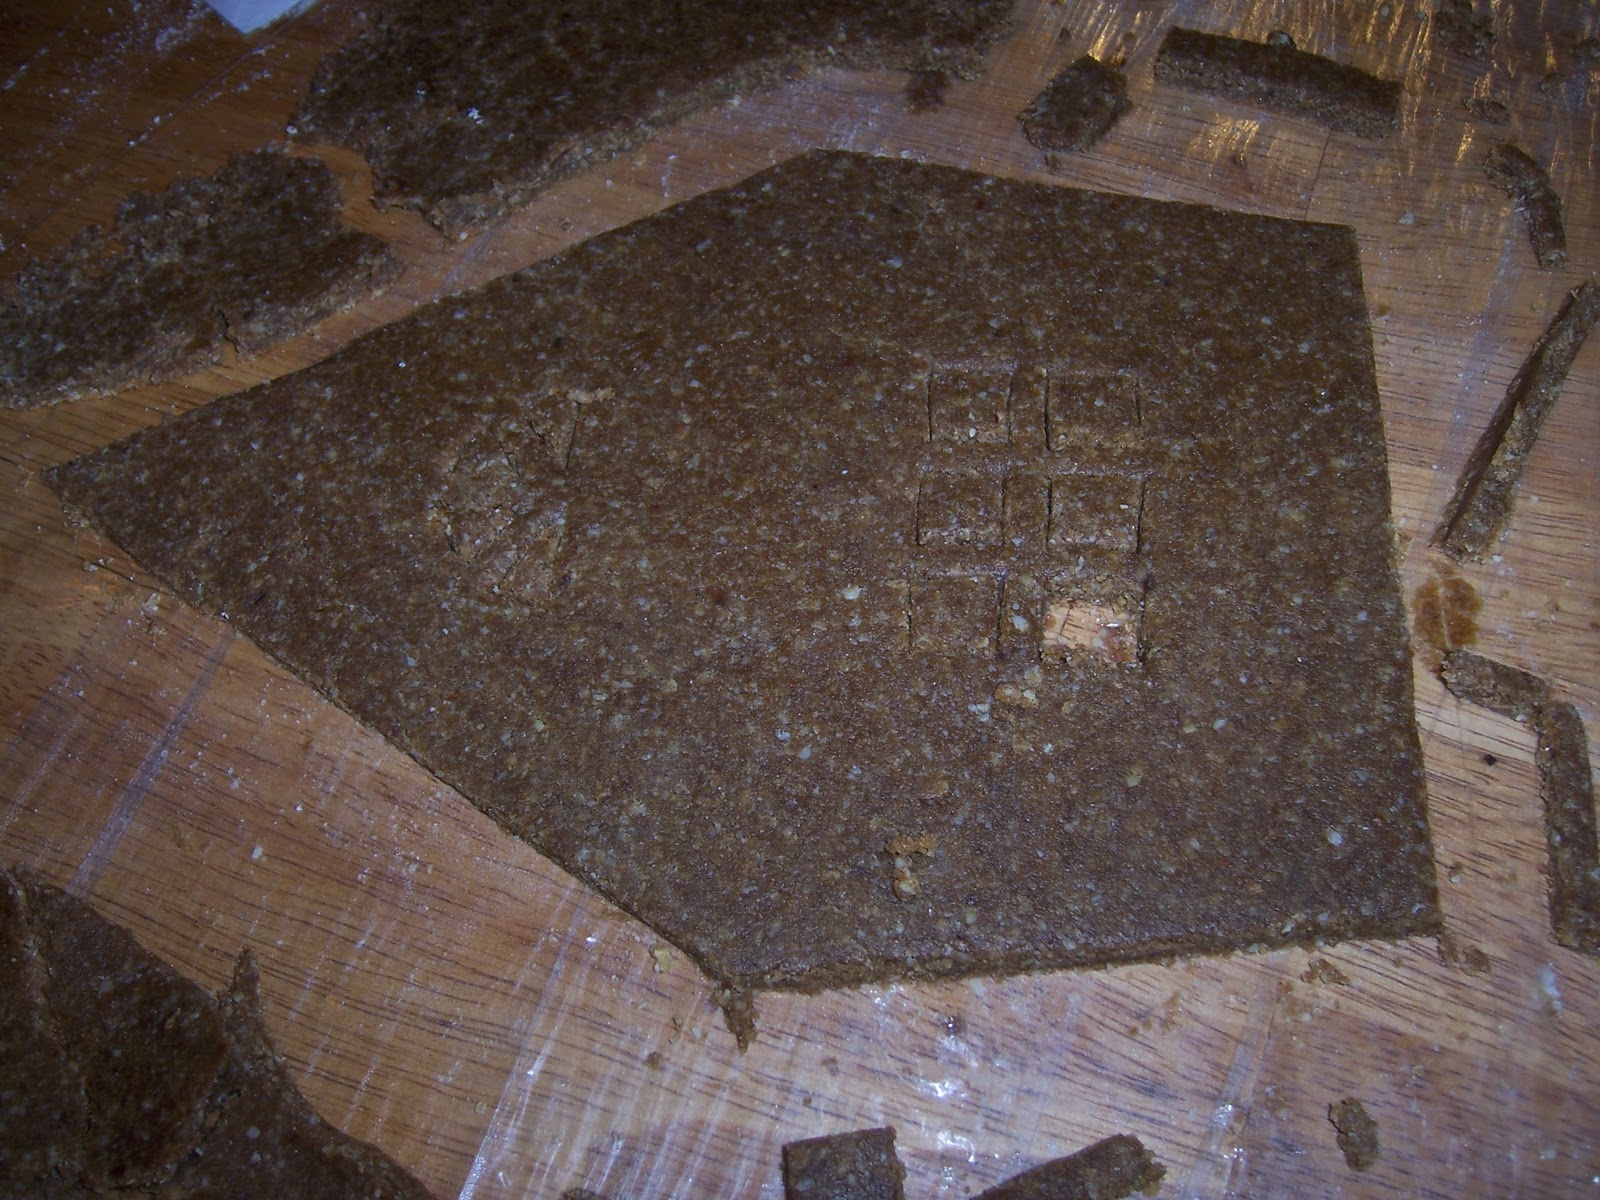
We made up the dough and cut out all the bits!  It was rather stressful due to the dryness of the dough.  However, we ended up with what appears to be very sturdy house pieces.  Construction has not yet began due to time constraints, but you'll get a blog as soon as possible!
Unbaked with the windows being popped out . . .

First sheet out of the oven . . .

The front!

Side of the house

Most of the parts baked and ready to go!

Ikkin-bot baker extraordinaire!
So far the project has been great.  I recommend family christmas projects.  It is a great way to relax and make sure you actually see people at the holidays instead of just running around stressed out. 

Thursday, July 15, 2010

Ichigo Daifuku!

I love ichigo daifuku!  You can get pretty good stuff from the store, but it doesn't really compare to homemade daifuku.  Ichigo daifuku is simply mochi stuffed with red bean and strawberries.  You could do red bean diafuku or any other flavor you like really.  This video of Cooking with Dog is very helpful.  Remember you need well mashed and fairly dry red bean to cover the strawberries with.


Eating Out Loud has a good straight red bean recipe. Steaming the mochi works really well, but you will need a large steamer.

If you don't want to steam you can also microwave your mochi.  A nice version is at Paws are for Cooking.

Mochi can also be made in a pan and then used to wrap the filling.  The Anime Blog has a good recipe for cherry daifuku that makes just a few, which is nice as ichigo diafuku really needs to be eatten soon after being made or really by the next day.  I've done this recipe with strawberries instead and it is still really nice.

My Lunch Can Beat Up Your Lunch has another pot recipe that works very well for ichigo daifuku.

At this point I tend to combine a bit of all these recipes to get the results I'm going for.  Remember you may need to adjust the amount of liquid you use depending on the weather where you live.  You don't want them to wet or too try and this really makes a big difference on the final outcome.

This is what the cooked mochi looks like before you put it all together.
Caution - super sticky!
Here is some finished daifuku.  It is essential that you dust the outside and your hands while your working.  Else it will be an even bigger mess then it already is!
Not my prettiest batch . . . it took me a bit to get this down at the higher dryer altitude I find myself in here in Edmonton

Wednesday, July 14, 2010

LOST Cupcakes!

I made these LOST cupcakes for the final episode, but finally got around to posting them.  Here you can see the hatches.


And here are some interpretations of the island!

You can see the parachutes stuck in the tree, the black smoke, some polar bears, and a tanker! Here is a close up.  The statue feet tanker etc are made out of modified gummy bears.  Remember to use caution when using a sharp knife to cut up gummy bears . . .

Thursday, June 17, 2010

Almond Poppy Seed Cake!

My housemate's mom is visiting so I thought I'd make a bit of dessert.  I also had loads of poppy seeds from a pea patty experiment so I went with almond poppy seed cake.  I don't really care for lemon.  The almond works really well with the poppy seeds though.  The recipe I took it from called it bars, but its cake.  It also has a glaze that I think turned out more like frosting due to the large amount of powdered sugar.  It taste good with the frosting like topping though.  I got the recipe from Alrecipes.dom, which is a convenient site for easy recipes.

Here you see the cake and the frosting.

here you have both the cake and the icing

And here is a slice of delicious, but heavy cake.

its much richer than it looks
Yum!