Showing posts with label mochi. Show all posts

Wednesday, July 13, 2011

Japanese Snacks!

I love odd snacks and I have long envied Orchid64 at Japanese Snack Review. Finally, I have a chance to eat some interesting things that I actually choose from a selection of things.  Hopefully we will have a follow up to this blog with even more food!
Fun assortment of stuff!

Kind of odd combo in my opinion.
 Banana = alright, Almond = pretty good, Strawberry = kind of icky, Carmel = pretty delicious

Not poop sticks
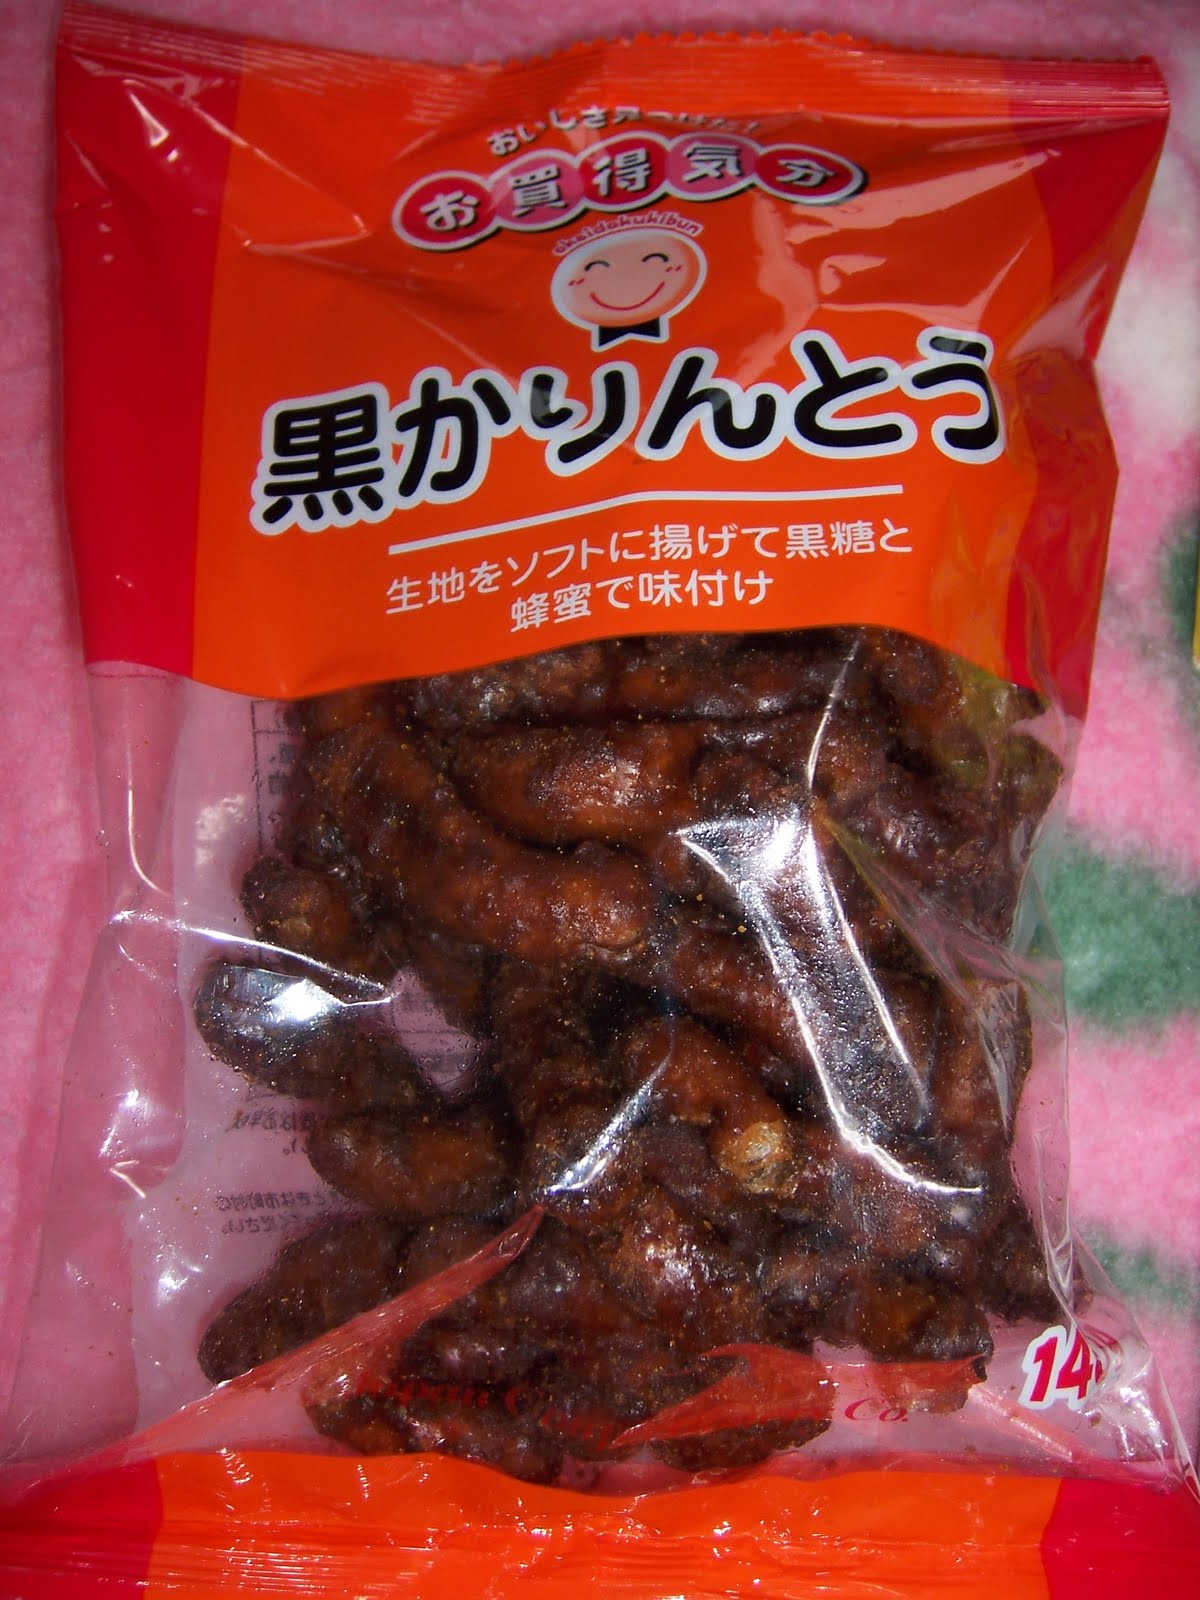
 This is a traditional Japanese snack.  Delicious burned sugar flavor!
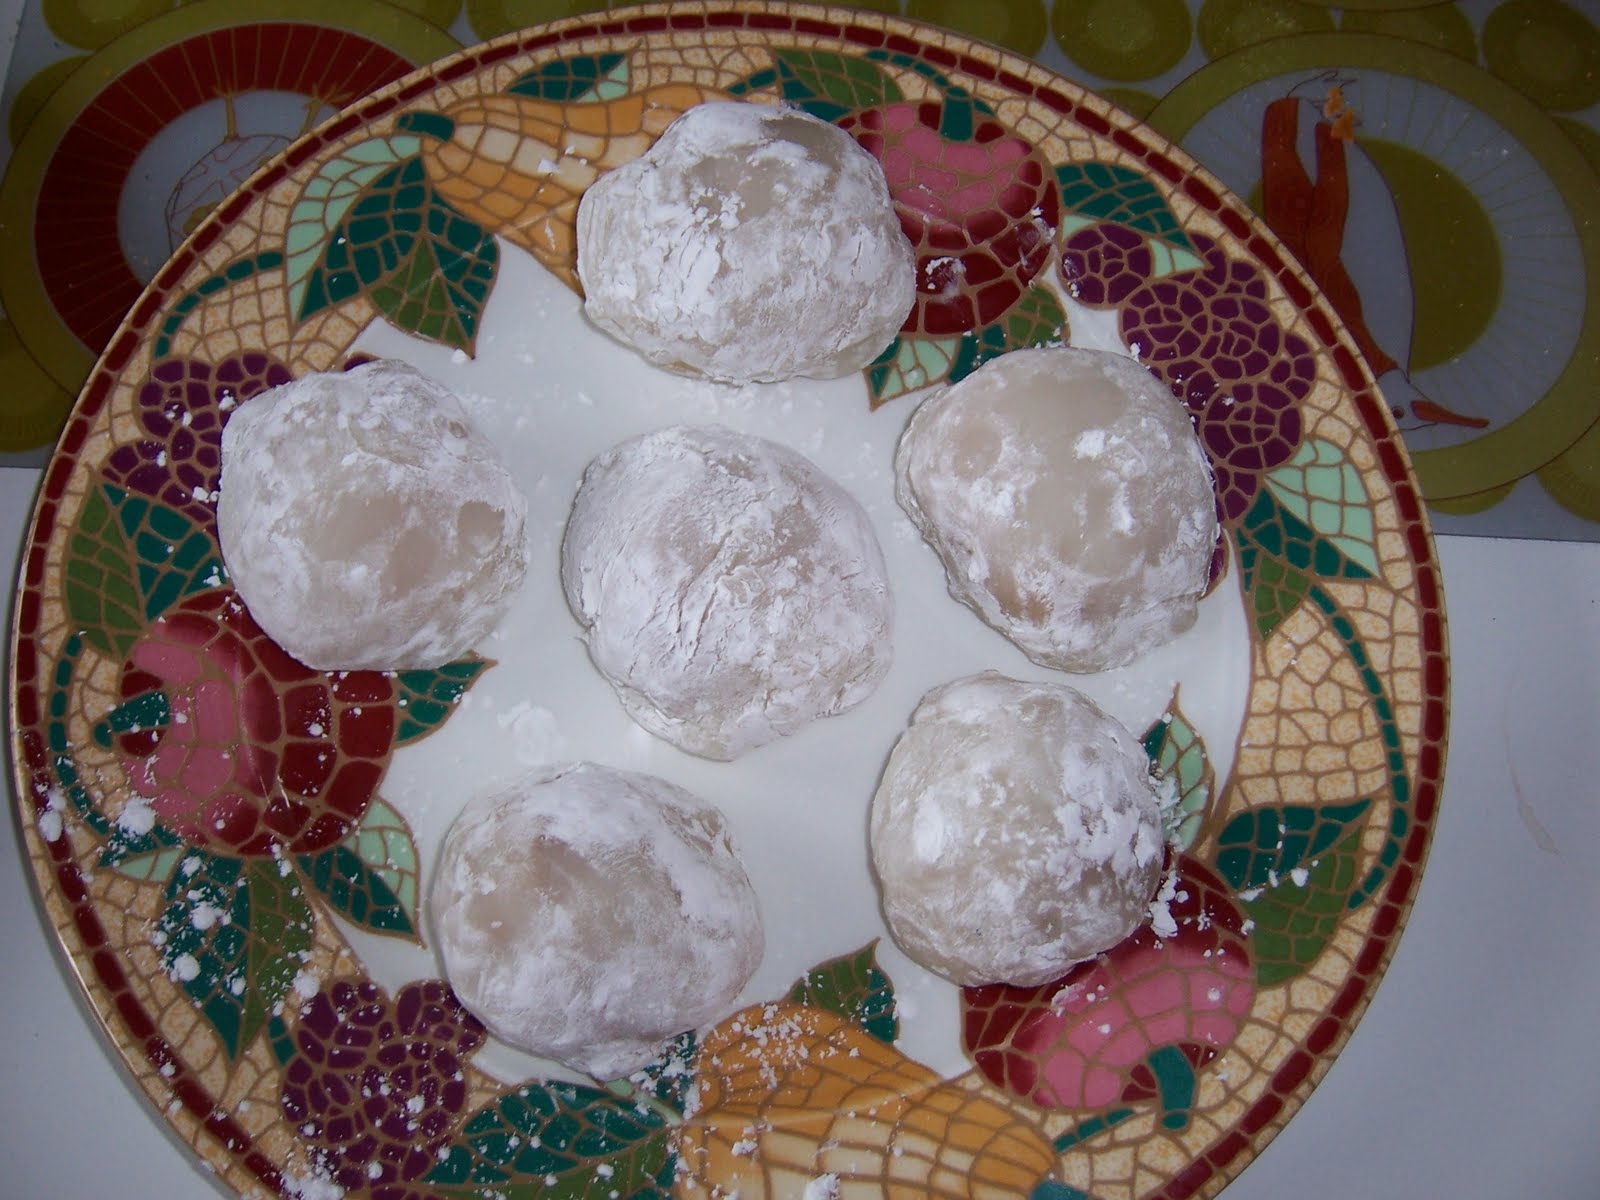
Traditional son of a peach mochi
 Really really delicious.  Kind of a brown sugar tasting mochi.
Chocolate bar and chocolate sandwich!
 Tastes like a chocolate bar.
Not a frappe = blue Hawaii slushy
 Tastes like blue . . . but not raspberry

Tons of cakes!
I got a chestnut one!
Nice pleasant chestnut flavor.  I don't know why we don't make chestnut cakes.  Yum!

So, far all successful!

Sunday, February 13, 2011

Bake Sale! Daifuku and Cookies

I needed to do some baking for a Valentine's Day Bake Sale. I decided I would make some Peanut butter and coconut daifuku.  I knew a double batch of the recipe I like to use would give me 12 of each type.  I also remembered a jar of sauerkraut in the fridge and vaguely recalled eating sauerkraut cooking when I was a kid . . . so I googled it.  I did find a recipe for Don't Ask, Don't Tell cookies at Jennie's Recipes.  I followed the recipe exactly and ended up with some nice cookies.

The cookies taste a lot like muffin tops, which is good in my opinion.  You really can't taste the sauerkraut and the cookies only have a little bit of zip.  I think I would use just a bit more sauerkraut next time.  Also, I did a half batch and got a ton of cookies.
Raw . . .

and cooked!

I also perfected my daifuku recipe and diafuku making skills.  First, lets go through the fillings!  For the peanut butter daifuku put teaspoon sized balls on a cookie try or a mini muffin pan and freeze it.  For coconut filling take 1 cup of coconut, 1/4 cup brown sugar, 1 tbs flour, and 1/2 cup of water in a sauce pan and mixing it over medium heat until thick (it is important that it isn't runny at all).  Freeze in balls like the peanut butter.  Make sure to freeze for at least an hour.
coconut ready to be frozen

Peanut butter ready to be frozen!
Make the daifuku!  I find the microwave mochi makes the best daifuku.  Take 1 cup mochiko flour, 1/4 cup sugar, and 1 cup water and mix in microwave safe bowl.  Cover with plastic wrap.  Microwave 2 minutes.  Stir. Microwave 1 minute.  If it puffs up and then settles its done.  If not microwave 1 more minute.  No more than 4 minutes.  It will make 12 daifuku.  Let the mochi cool a bit . . . just enough so you can stand it.  Spray hands with PAM . . . or flour hands with cornstarch.  Pinch a small glob off and spread it out on a plastic/silicone cutting board.  Make it into a small round and put one frozen filling in the middle.  Pinch the the mochi shut.  Roll the sticky surface in cornstarch or a fun topping.  I used coconut for the coconut ones and sesame seeds for the peanut butter.  Just put some in a bowl and roll it around.  Drop them into a cupcake wrapper. 
squished out round

frozen filling in the middle

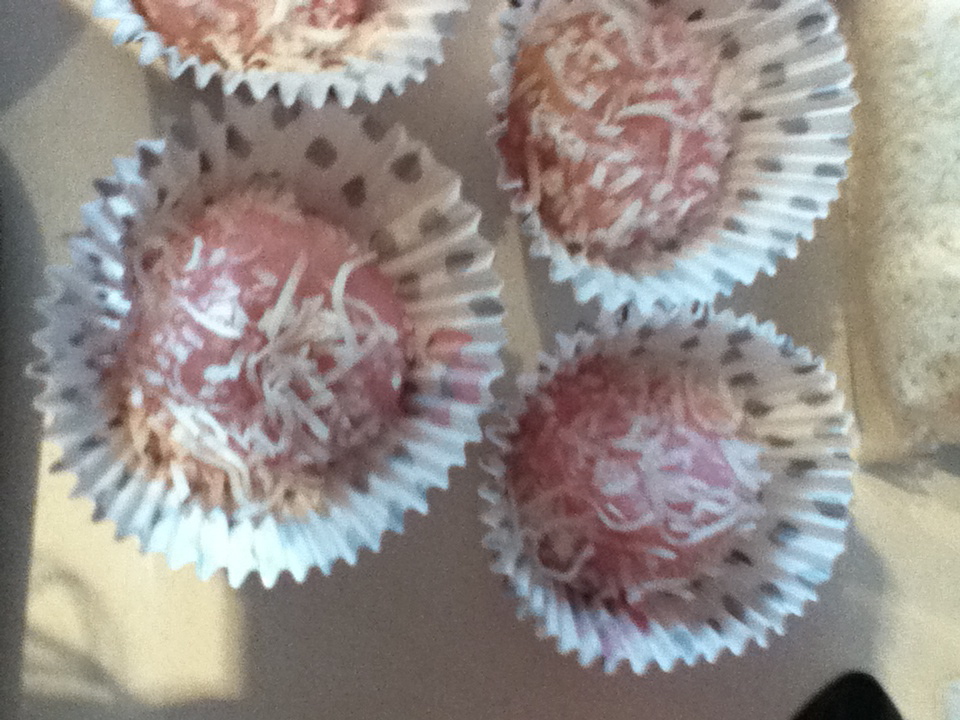
Coconut in cups

Peanut butter in cups
This is mine made up of extra bits (so both peanut butte and coconut). Yummy!

I sampled everything and it all turned out really really well!

Monday, August 30, 2010

Daifuku and Red Bean Buns!


So, I had a party this weekend and I made some diafuku and red bean buns.  Both turned out great and were a big hit.  I only have a couple of red bean buns left!  I'm a big fan of multistage baking endeavors, so I love making things like buns and daifuku.  The recipes are pretty easy they just take some time and patience!
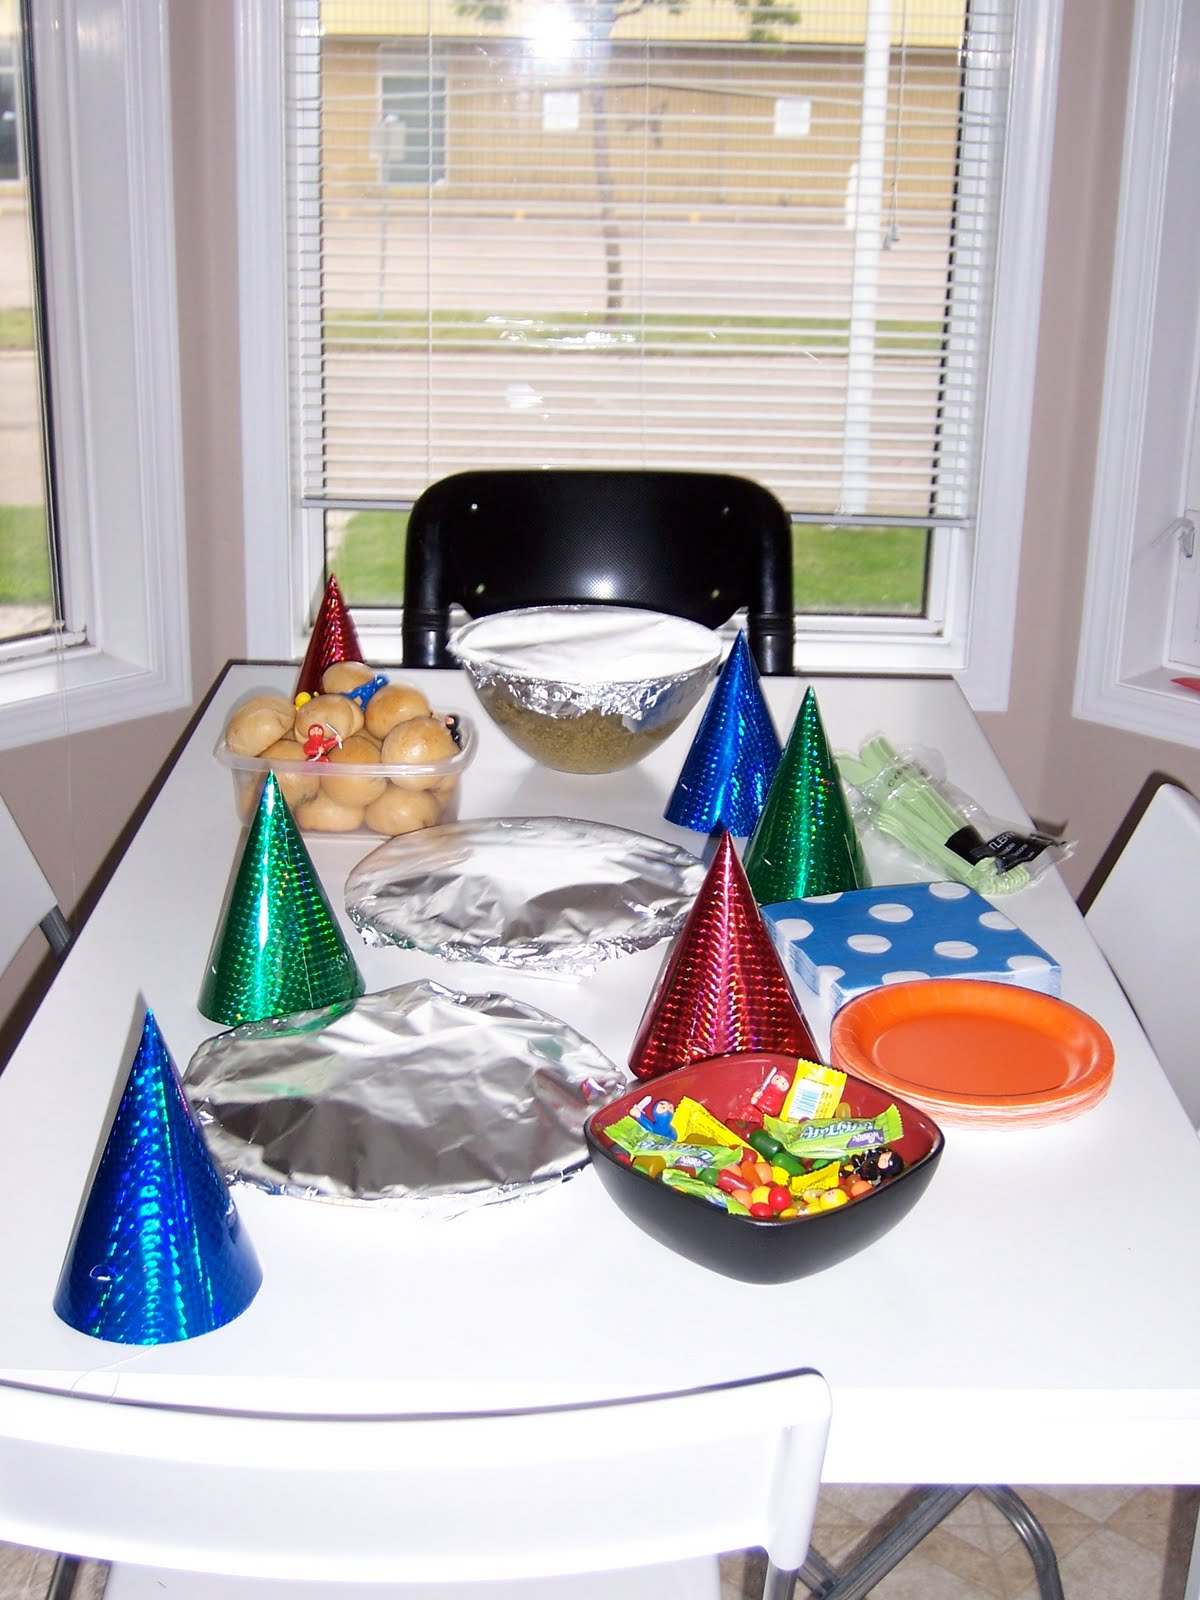
The mochi is being protected for its own good!
First, I made the red bean buns.  I had made many different types of red bean and pork buns in the past and have never been completely satisfied with any of the recipes.  I believe part of the problem is that Edmonton is actually at a fairly high altitude and is extremely dry.  

This time I modified a recipe from The Vegan Table to make my buns and the results were pretty good.  Previously, I had only made steamed buns, but I modified the baked bun recipe this time.

Recipe For Red Bean Buns
Makes 24 (I got 21 out of my batch)
Ninja's love red bean buns
Ingredients:
1/2 tsp salt
1/4 cup sugar
1/4 cup butter
1/4 cup plus 1/3 cup lukewarm water, divided
1 1/2 tsp active dry yeast
1 cup milk
2 cups whole wheat all purpose flour plus 1 1/2 cup flour
1 bag or can of pre-made smooth red bean paste
1 egg yolk + 1 tbs water for egg wash

What to do:
1. Sift 2 cups flour, salt, and sugar into a large bowl. With a pastry blender or two knives, cut in the butter until it resembles course meal. 
2. In a small bowl combine 1/4 cup of the water with the yeast and let sit 5 minutes. 
3. Combine remaining water and milk and heat in a sauce pan or microwave to about 110°F (I checked temp with a candy thermometer). 
4. Stir in the yeast mixture. 
5. Add the yeast milk mixture to flour mixture and stir well. 
6. Add remaining 1 1/2 cups flour and mix. Turn the dough onto a well floured board and knead for about 5 minutes, or until smooth, adding flour as needed. 
7. Place the dough in a large lightly oiled bowl and cover with a damp towel and let rise in a warm, draft free place for about 2 hour or until dabbled in bulk. (If you want it to rise faster or you have a very cold house like me place the bowl in a larger bowl filled with warm water then cover .  I used the bottom of my massive steamer). 
8. Punch down the dough.

Make Buns!
9. Grease two baking pans
10. Divide the dough into 24  pieces (or as many as you can and make them evenly sized). 
11. Use your fingers to flatten a piece of do into a circle 2-3 inches in diameter, leaving it a little thicker in the center. 
12. Place the circle in your palm and spoon 2 tsp of filling onto the dough (or as much as you can fit and still seal the bun!). 
13. Gather the edges of the dough and pinch together firmly to seal. 
14. Place pinch side down on prepared baking sheet. Repeat with remaining dough, placing buns about 2 inches apart. 
15. Cover loosely with plastic or a damp towel and allow to rise about 30 min. 
16. Preheat oven to 350°. 
17. Brush buns with egg wash. 
18. Bake for 20-25 min until golden brown. 

I also made some delicious daifuku, which is one of my favorite desserts.  It is simply mochi filled with something.  So, you get two delicious treats in one.  Just a warning you will make a ridiculous mess making these, both of yourself and your kitchen.  Mochi is very very sticky and dusting it so you can handle it tends to spread cornstarch or whatever all over your kitchen.  Daifuku are fun as they look really impressive, but aren't that hard.  They also aren't really that sweet, which is nice. 

For the party I made 3 types of daifuku (very small batches of each type).  I was already making red bean buns so I picked/adapted a simple mochi recipe from Paws are for Cookin' that made small batches in the microwave and then I made two batches.

Diafuku Recipe:
Will make 8ish daifuku
Peanut butter daifuku dusted with corn starch.
Red bean diafuku dusted with roasted sesame seeds and coconut diafuku dusted with coconut.

Ingredients:
1 cup mochiko sweet rice flour (any glutinous rice flour would do)
1 cup water
1/4 cup white sugar (I also did a batch with brown sugar and both times I used slightly more than 1/4 cup as I found this recipe to be not quite sweet enough the first time I used it)

* Corn starch/potato starch, mochiko flour or something for dusting the outside (I actually used some sweetened coconut and roasted sesame seeds)
*Filling of choice (I used red bean, coconut filling, and peanut butter.  You can't use anything too wet or it will make a hole through the daifuku. IE: if using strawberries first cover with red bean barrier then place in center)

1. Mix mochiko and sugar in a microwave safe bowl.
2. Add water and mix thoroughly (will be watery).
3. Cover with plastic wrap or the lid to the bowl (makes sure to leave it open a crack so it does not explode).
4. Microwave on high for 4 minutes. 
5. Take off plastic wrap. Cool for a few minutes, enough to handle without being scalded.  
6. Most people will tell you to dust your hands with flour or starch and then handle, but this method is hit or miss for me and often I end up stuck to my mochi, which makes it difficult to make it beautiful.  This time I sprayed Pam on my hands and rub it in a bit (make sure to get between your fingers).  If the mochi starts taking you over like it's the blob add more.  As I was coating the mochi the cornstarch stuck to the Pam and made and even stronger blob proof barrier!
7.  Options - you could just cut it up dust it with something and eat it or you could fill it and make daifuku! (cuts better with a plastic knife)
8. If you want to fill it take enough mochi to make a 2-3 inch circle about 1/4" thick and a bit thicker in the center (about the size of a golf ball).
9. Scoop in a heaping 1 tsp of filling (or more if you think you can manage without breaking the seal on the daifuku - ie I did 1 tbs of peanut butter).
10. Bring the edges together and pinch shut (this shouldn't be hard due to how sticky the mochi is)
11. Dust outside with chosen sticky/antiblob barrier.

More on Filling:

I used premade Red Bean, but you could make your own there are plenty of recipes online. 

For the peanut butter filling I scooped out 1 tbs globes of PB put it on a plate and froze it.  Freezing it is a crucial step - it is very very hard to place one gooey thing with no structural integrity inside another. 

For coconut filling I halved PuSiVa's recipe for coconut filling (its like the stuff that goes on a German chocolate cake), which made enough for like 6 daifuku.  I made the filling then let it cool and scooped it into the center. Next time I do this I will freeze it into little balls to make it easier to handle.

Saturday, August 7, 2010

PhD candidate!

I am now a PhD candidate, yay! (this is not the creep kind of candidacy that I didn't sign up for an my end with me dying violently on an island) The exam wasn't too bad and I was only dense a couple of times during my wonderful 3 hour test.

For my exam I mad some chocolate mochi (recipe from the Koda Farms site).  I ended up cooking mine two minutes less than suggested to keep it from getting too stiff.  The recipe was good, but not great.  If I made this again I would definitely use milk instead of water to make the mochi taste richer.
Nice pile of chocolate mochi
They had a mild dark chocolate taste and were very delicate and soft.

Monday, August 2, 2010

Heritage Festival

I went to the heritage festival in Edmonton this weekend.  It was really fun.  There were booths from all over and lots of music and dancing (folk dancing from the different countries). It was huge.  We were there 4 hours walking around and didn't really exhaust or options.

I had delicious Takoyaki otherwise known as octopus balls.  They were pretty good.  Not quite what I was expecting as they do not taste fishy at all.
I also had a bit of camel from the Somalie place (the flavor was great, I wish I knew what spices were used, but it was a bit tough . . . tastes a bit like goat). I had a orange mango shake.  A Bangladeshi samosa. I had some sort of bad pineapple drink from Guatemala. Really good bannock (an aboriginal Canadian specialty).

I also had some Kvas - a Russian drink that is fermented (though non-alcoholic) something.  The initial taste is fairly unpleasant, but the aftertaste is actually kind of nice.

After the fair we went to the T&T (my favorite Asian grocery story ever).  While there I got a steamed mochi cake (in rainbow colors!).
I know its blurry but you get the idea!

I don't know Mary, but she makes good mochi!  It has a real gentle sweet flavor with a hint of coconut. It is very very soft and rich. Not for eating in one sitting though its only about 4in around and 1/2 inch thick.  I may have to buy another then I get back to the T&T!

In keeping with talking about food.  I also made myself a pretty delicious lunch.
I have a cut up plum (I don't like to bit fruit with pits). Black bean salad and cucumber salad.
Both of those are easy to make.

For the Black bean salad I used 1 can of black beans, 2 small tomatos chopped, one avocado chopped, and the juice of one lime.  I then salted to taste and added a bit of Mexican hot sauce for spice.

Cucumber salad is just as easy.  Take 1/2 and english cucumber.  Cut in half the long way and remove seeds.  Peel a bit of the peel off to make a nice pattern and slice thinly.  Make dressing by combining 1/8 cup rice wine vinegar (white vinegar will work if that's what you have or another form of wine vinegar), 1/2 tsp sugar, and 1/8 tsp salt (or to taste). Stir together until dissolved.  Add cucumber and 1tbs toasted sesame seeds.

Wednesday, July 28, 2010

What's in it?

I used to be what is called a picky eater.  I was afraid of what I might find by carelessly biting into my food.  My main issue was unexplained bits of food that were the "wrong" texture in another food.  This made eating many foods very difficult for me - particularly soup (don't worry you can totally pick stuff you don't like out of soup it just takes a lot of looking).
See look at all that horrible stuff in there! At least I don't see any celery . . .

My problem steams from a miss communication as small child. I was a rather shockingly literal kid and had just enough knowledge and vocabulary to be a danger.  I also tended to  form my own conclusions and stick with them, without confirming my new knowledge.
Ikkin says "I don't know"
So, I'm 3 or 4 and eating watermelon with my dad on the porch one hot summer day.  My dad is a person who relentlessly teases everyone and the story will get worse and worse until it is clearly an attempt to mess with you.  I had already learned that if it doesn't really make sense daddy is probably making it up.

But we are eating watermelon and he's spitting out the seeds.  So, I ask why do we spit them out. He responds "So, watermelon's don't grow in your stomach." Now I'm sure I'm not the only child that got told this rather than they taste bad or who want to bit into a big seed, but I had logic on my side.
in case you were unsure

As he was spitting them out and seeds did grow I assumed this was plausible.  Now, remember I didn't know about stomach acid yet.  So, I stopped eating watermelon (I wasn't the type of kid to take chances with watermelon plants, those things get big).  I also deduced if watermelons can grow in your stomach from seeds so can other seeds . . .

Flash a few months in the future.  My parents that their daughter normally a very easy kid to feed is turning down all kinds of food.  Not like when she was a baby and refused to let anyone put a spoon in her mouth because she had to feed herself, but really seemed to have an aversion to food. I was a logical kid remember, if watermelon can grow in your stomach so can everything else.  Who knows whats in those lumpy bits in your food and what they could do once given free reign in your stomach.
The black dots are the best part! Better than the tips - who eats that part ick!

So, I sit down to eat a banana and begin eating it like a cob of corn to avoid the seeds in the middle.  My mother says "What are you doing?" "I don't want to eat the seed." "?" "I don't want banana trees in my stomach." Penetrating stare to my father.  "I didn't do it! . . . I don't remember doing it . . ." So, I get straightened out on seeds.

I still hate seeds.  They aren't really food, but we eat them anyway.  I've learned to deal with it mostly.  I have issues with berries . . . the food to seed ratio is all out of balance.  However, this is a post about how I'm not picky any more.

After years of pickyness and generally weird food choices. For instance, I have always loved Avocados. I went to college and some how became friends with a slew of Hawaiians. Who liked to cook and I don't turn down food people make for me.  So, my years of trying things graciously began and I started to like it.
One of my friends once got asked if she took a canoe to school . . . 

Then they made me mochi and it was the turning point! It was a weird texture and I loved it anyway.  I then began my journey to try all the strange food I could find, at least once.  Through this I have learned that I actually like more foods than I dislike . . . other than jello . . . I just don't get it.  Its a stupid food it doesn't really taste like anything . . . I still distrust soup as well, but I'm getting better!

Thursday, July 15, 2010

Ichigo Daifuku!

I love ichigo daifuku!  You can get pretty good stuff from the store, but it doesn't really compare to homemade daifuku.  Ichigo daifuku is simply mochi stuffed with red bean and strawberries.  You could do red bean diafuku or any other flavor you like really.  This video of Cooking with Dog is very helpful.  Remember you need well mashed and fairly dry red bean to cover the strawberries with.


Eating Out Loud has a good straight red bean recipe. Steaming the mochi works really well, but you will need a large steamer.

If you don't want to steam you can also microwave your mochi.  A nice version is at Paws are for Cooking.

Mochi can also be made in a pan and then used to wrap the filling.  The Anime Blog has a good recipe for cherry daifuku that makes just a few, which is nice as ichigo diafuku really needs to be eatten soon after being made or really by the next day.  I've done this recipe with strawberries instead and it is still really nice.

My Lunch Can Beat Up Your Lunch has another pot recipe that works very well for ichigo daifuku.

At this point I tend to combine a bit of all these recipes to get the results I'm going for.  Remember you may need to adjust the amount of liquid you use depending on the weather where you live.  You don't want them to wet or too try and this really makes a big difference on the final outcome.

This is what the cooked mochi looks like before you put it all together.
Caution - super sticky!
Here is some finished daifuku.  It is essential that you dust the outside and your hands while your working.  Else it will be an even bigger mess then it already is!
Not my prettiest batch . . . it took me a bit to get this down at the higher dryer altitude I find myself in here in Edmonton

Wednesday, June 30, 2010

Pumpkin Dango


I love all kinds of mochi and try to experiment with new kinds all the time.  People are always afraid to try it and then always seem to love it.  It is one of those addictive things that the more you eat of it the more you want to eat it.  The recipe for pumpkin dango is pretty sinmple.

Pumpkin Dango
*1 cup mochiko (glutinous rice flour)
*3tbs joshinko (non-glutinous rice flour)
*3tbs white sugar
*1/2 cup warm water
*6, 4" bamboo skewers (optional, but makes it more fun)

Pumpkin (An) filling
*1 cup pumpkin puree, plain
*1/2 tsp cinnamon
*1/2 tsp ginger
*1/4 tsp nutmeg
*1/8 tsp allspice
*1/4 cup packed brown sugar
*2tbs white sugar

So, first you need to make the pumpkin filling.  Start by draining out the liquid by placing the pumplin puree in a piece of unbleached muslin cloth (a good quality paper towel will also work) gather the ends together and twist the cloth tightly over a bowl to drain moisture.  Keep the liquid and set aside.  The pumpkin should now be dry enough to roll into a ball. Put the pumplin in a small sauce pan and add the rest of the filling ingredients.  Cook over medium heat.  Adding the reserved pumpkin juice as need to cook with out scorching it.  When it becomes sticky and can sill be rolled into a ball its done.  Refrigerate or freeze til firm (this really doesn't take very long).  While that chills make the dango.  

Whisk the mochiko, joshinko and sugar together in a small bole.  Slowly add the water a bit of a time.  Mix with a fork at first and then use your hands to kneed the water into the dough.  It should be the consistency of an earlobe when properly mixed (so a bit squishy but not to liquidy, it will make more sense as you do it).  Roll cooled filling into 18 1/2 inch balls.  Roll mochi dough into 18 scant 1 inch balls.

Next, you need to flatten out the mochi dough (it helps if you palm is a bit damp or you have plastic wrap on it etc) and place a ball of filling in the middle.  Gather the edges of the dough and pinch it closed.  It the dough is a bit dry you may need a dab of water to close the ball up.  Roll the dango in your palms to make a nice neat ball.  

In demonstration mode


After rolling all the dango its time to cook them.  This is where the optional skewering comes it (this does make them easier to eat).  Place 3 balls on each skewer and place in a steamer basket.  Steam on high for 10 minutes.  

Its foggy as there is still dangerous steam pouring out . . . caution - steam is hotter than it appears!


Serve immediately (they taste better the fresher they are).  You'll get 6 skewers.  They are actually quite large and filling so a stick per person is not unreasonable if you having people over.  Not that more than three is wrong! :)

Why wouldn't you want to eat that?

Pumpkin dango is great, but you could easily use a different (fairly dry and thick filling) or you could leave them plain/unfilled.  When making them unfilled they are often good with a sauce, which could be savory or sweet.