So, I had a party this weekend and I made some diafuku and red bean buns. Both turned out great and were a big hit. I only have a couple of red bean buns left! I'm a big fan of multistage baking endeavors, so I love making things like buns and daifuku. The recipes are pretty easy they just take some time and patience!
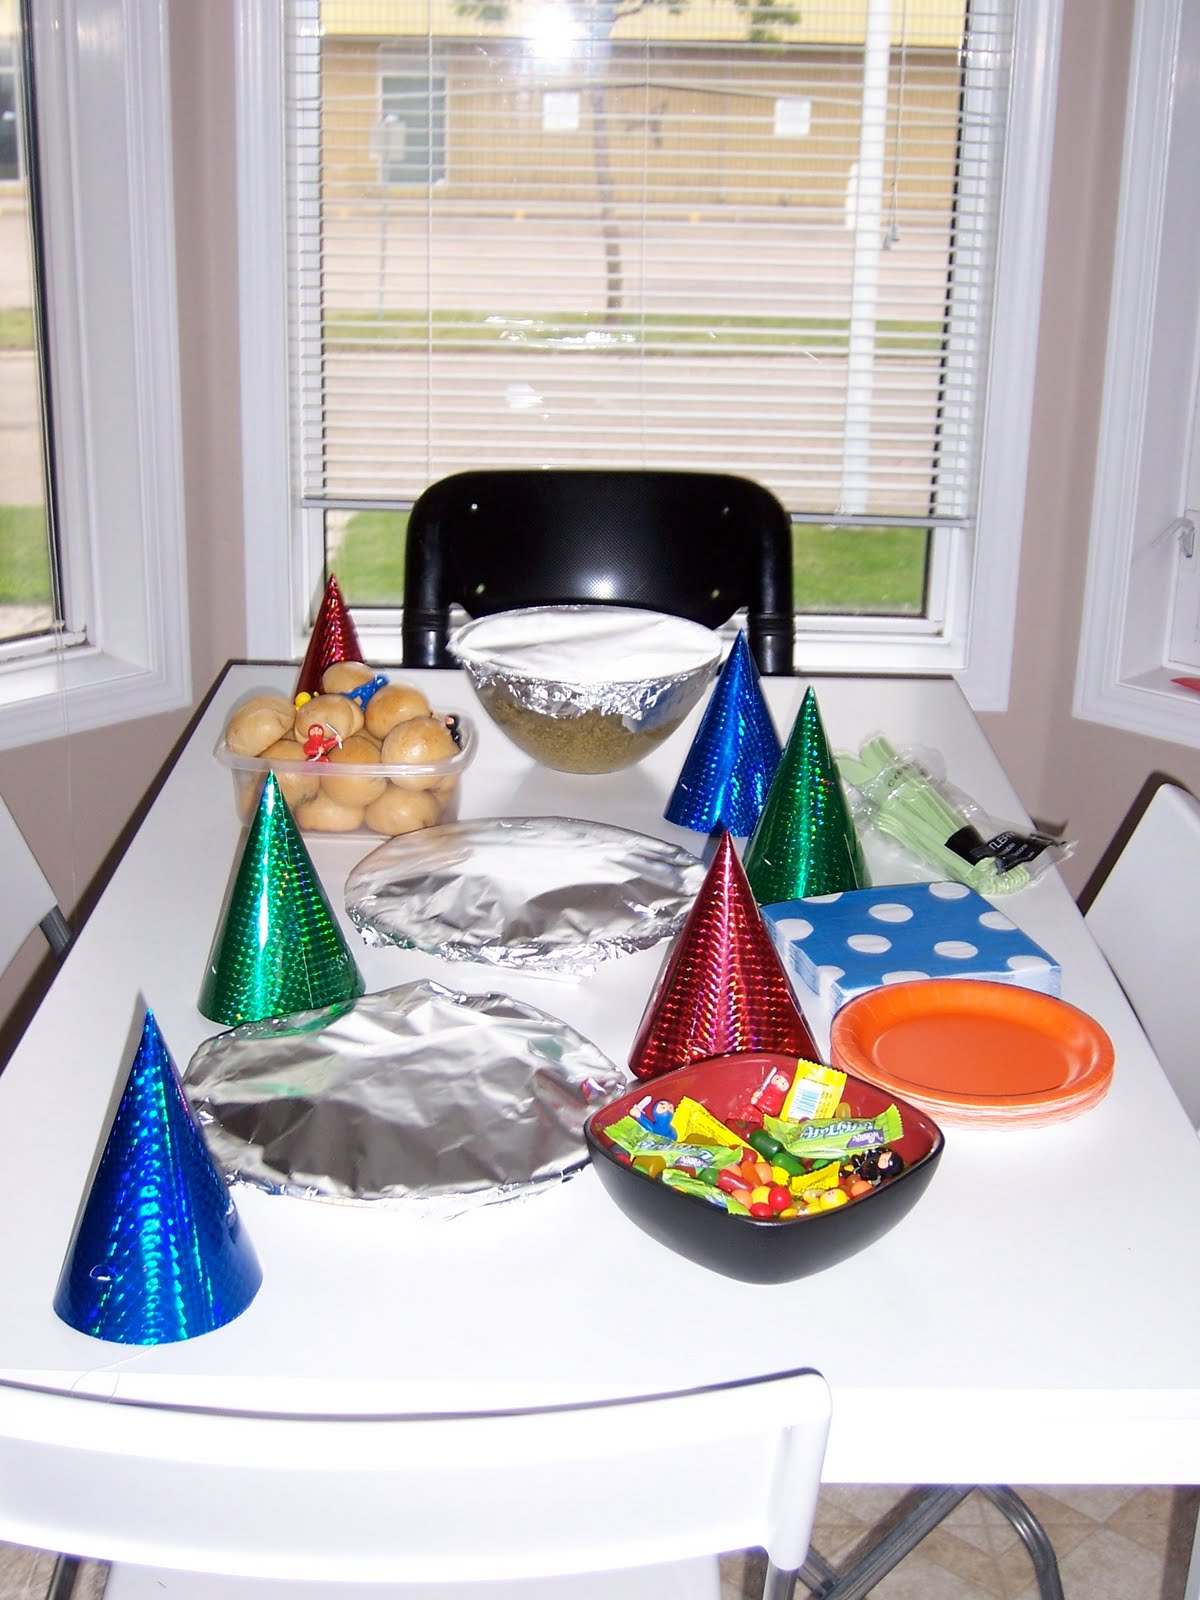 |
| The mochi is being protected for its own good! |
First, I made the red bean buns. I had made many different types of red bean and pork buns in the past and have never been completely satisfied with any of the recipes. I believe part of the problem is that Edmonton is actually at a fairly high altitude and is extremely dry.
This time I modified a recipe from The Vegan Table to make my buns and the results were pretty good. Previously, I had only made steamed buns, but I modified the baked bun recipe this time.
Recipe For Red Bean Buns
Makes 24 (I got 21 out of my batch)
 |
| Ninja's love red bean buns |
Ingredients:
1/2 tsp salt
1/4 cup sugar
1/4 cup butter
1/4 cup plus 1/3 cup lukewarm water, divided
1 1/2 tsp active dry yeast
1 cup milk
1/4 cup sugar
1/4 cup butter
1/4 cup plus 1/3 cup lukewarm water, divided
1 1/2 tsp active dry yeast
1 cup milk
2 cups whole wheat all purpose flour plus 1 1/2 cup flour
1 bag or can of pre-made smooth red bean paste
1 egg yolk + 1 tbs water for egg wash
What to do:
1. Sift 2 cups flour, salt, and sugar into a large bowl. With a pastry blender or two knives, cut in the butter until it resembles course meal.
2. In a small bowl combine 1/4 cup of the water with the yeast and let sit 5 minutes.
3. Combine remaining water and milk and heat in a sauce pan or microwave to about 110°F (I checked temp with a candy thermometer).
4. Stir in the yeast mixture.
5. Add the yeast milk mixture to flour mixture and stir well.
6. Add remaining 1 1/2 cups flour and mix. Turn the dough onto a well floured board and knead for about 5 minutes, or until smooth, adding flour as needed.
7. Place the dough in a large lightly oiled bowl and cover with a damp towel and let rise in a warm, draft free place for about 2 hour or until dabbled in bulk. (If you want it to rise faster or you have a very cold house like me place the bowl in a larger bowl filled with warm water then cover . I used the bottom of my massive steamer).
8. Punch down the dough.
Make Buns!
9. Grease two baking pans
10. Divide the dough into 24 pieces (or as many as you can and make them evenly sized).
10. Divide the dough into 24 pieces (or as many as you can and make them evenly sized).
11. Use your fingers to flatten a piece of do into a circle 2-3 inches in diameter, leaving it a little thicker in the center.
12. Place the circle in your palm and spoon 2 tsp of filling onto the dough (or as much as you can fit and still seal the bun!).
13. Gather the edges of the dough and pinch together firmly to seal.
14. Place pinch side down on prepared baking sheet. Repeat with remaining dough, placing buns about 2 inches apart.
15. Cover loosely with plastic or a damp towel and allow to rise about 30 min.
16. Preheat oven to 350°.
17. Brush buns with egg wash.
18. Bake for 20-25 min until golden brown.
I also made some delicious daifuku, which is one of my favorite desserts. It is simply mochi filled with something. So, you get two delicious treats in one. Just a warning you will make a ridiculous mess making these, both of yourself and your kitchen. Mochi is very very sticky and dusting it so you can handle it tends to spread cornstarch or whatever all over your kitchen. Daifuku are fun as they look really impressive, but aren't that hard. They also aren't really that sweet, which is nice.
For the party I made 3 types of daifuku (very small batches of each type). I was already making red bean buns so I picked/adapted a simple mochi recipe from Paws are for Cookin' that made small batches in the microwave and then I made two batches.
Diafuku Recipe:
Will make 8ish daifuku
 |
| Peanut butter daifuku dusted with corn starch. |
 |
| Red bean diafuku dusted with roasted sesame seeds and coconut diafuku dusted with coconut. |
Ingredients:
1 cup mochiko sweet rice flour (any glutinous rice flour would do)
1 cup water
1/4 cup white sugar (I also did a batch with brown sugar and both times I used slightly more than 1/4 cup as I found this recipe to be not quite sweet enough the first time I used it)
* Corn starch/potato starch, mochiko flour or something for dusting the outside (I actually used some sweetened coconut and roasted sesame seeds)
*Filling of choice (I used red bean, coconut filling, and peanut butter. You can't use anything too wet or it will make a hole through the daifuku. IE: if using strawberries first cover with red bean barrier then place in center)
1. Mix mochiko and sugar in a microwave safe bowl.
2. Add water and mix thoroughly (will be watery).
3. Cover with plastic wrap or the lid to the bowl (makes sure to leave it open a crack so it does not explode).
4. Microwave on high for 4 minutes.
1. Mix mochiko and sugar in a microwave safe bowl.
2. Add water and mix thoroughly (will be watery).
3. Cover with plastic wrap or the lid to the bowl (makes sure to leave it open a crack so it does not explode).
4. Microwave on high for 4 minutes.
5. Take off plastic wrap. Cool for a few minutes, enough to handle without being scalded.
6. Most people will tell you to dust your hands with flour or starch and then handle, but this method is hit or miss for me and often I end up stuck to my mochi, which makes it difficult to make it beautiful. This time I sprayed Pam on my hands and rub it in a bit (make sure to get between your fingers). If the mochi starts taking you over like it's the blob add more. As I was coating the mochi the cornstarch stuck to the Pam and made and even stronger blob proof barrier!
7. Options - you could just cut it up dust it with something and eat it or you could fill it and make daifuku! (cuts better with a plastic knife)
8. If you want to fill it take enough mochi to make a 2-3 inch circle about 1/4" thick and a bit thicker in the center (about the size of a golf ball).
9. Scoop in a heaping 1 tsp of filling (or more if you think you can manage without breaking the seal on the daifuku - ie I did 1 tbs of peanut butter).
10. Bring the edges together and pinch shut (this shouldn't be hard due to how sticky the mochi is)
11. Dust outside with chosen sticky/antiblob barrier.
More on Filling:
I used premade Red Bean, but you could make your own there are plenty of recipes online.
For the peanut butter filling I scooped out 1 tbs globes of PB put it on a plate and froze it. Freezing it is a crucial step - it is very very hard to place one gooey thing with no structural integrity inside another.
No comments:
Post a Comment